A 12V solar panel wiring diagram provides a clear visual guide for installing solar systems, showing connections between panels, batteries, and inverters to ensure safe and efficient setup․
What is a 12 Volt Solar Panel Wiring Diagram?
A 12V solar panel wiring diagram is a detailed visual guide illustrating the electrical connections and components in a 12-volt solar power system․ It includes solar panels, batteries, charge controllers, and inverters, showing how they interconnect to function safely and efficiently․ The diagram provides step-by-step instructions, using symbols and labels to represent each component and their connections․ It helps users understand how to configure their system, whether connecting panels in series or parallel, selecting the correct wire size, and ensuring proper grounding․ This essential tool is crucial for safe and effective installation, preventing potential damage or hazards․
Importance of Using a Wiring Diagram for Solar Panel Installation
Using a wiring diagram for solar panel installation is crucial for ensuring safety, efficiency, and proper system function․ It prevents electrical hazards, such as short circuits or voltage drops, by guiding correct connections․ A diagram helps identify the right wire sizes, connectors, and grounding methods, ensuring components last longer․ It also serves as a troubleshooting guide, aiding in identifying and resolving issues quickly․ Whether you’re a novice or experienced installer, a wiring diagram is essential for a reliable and efficient 12V solar system setup, avoiding costly mistakes and ensuring optimal performance․
Components of a 12 Volt Solar Panel System
A 12V solar system includes solar panels, batteries, charge controllers, and inverters, each playing a vital role in generating, storing, and converting energy efficiently, ensuring reliable power supply for various applications․
Solar Panels
Solar panels are the heart of a 12V system, converting sunlight into electrical energy․ They typically operate at a maximum voltage of 22V (Voc) but are designed to charge 12V batteries efficiently․ Panels are available in various wattages, with higher wattage panels generating more power․ Monocrystalline and polycrystalline types are common, offering different efficiencies and costs․ Proper installation and alignment are crucial for optimal performance․ When wiring, panels can be connected in series or parallel to achieve desired voltage and current levels, ensuring compatibility with other system components like charge controllers and batteries․ Always refer to the wiring diagram for correct connections to avoid damage or inefficiency․
Batteries
Batteries are crucial for storing excess energy generated by solar panels in a 12V system․ Deep-cycle batteries, such as AGM or lead-acid, are ideal for solar applications due to their ability to handle repeated charging and discharging․ Battery capacity is measured in ampere-hours (Ah), determining how much energy can be stored․ Proper wiring ensures the battery bank matches the system’s voltage and capacity requirements․ Series or parallel connections can be used to achieve the desired voltage and capacity․ Always follow the wiring diagram to ensure safe and efficient energy storage, preventing overcharge or discharge, which can damage the system․
Charge Controllers
Charge controllers regulate the energy flow between solar panels and batteries, ensuring efficient charging and preventing overcharge or discharge․ They protect the system from voltage spikes and reverse current, safeguarding both panels and batteries․ MPPT (Maximum Power Point Tracking) controllers optimize energy harvest, while PWM (Pulse Width Modulation) controllers provide basic regulation․ Proper installation, as shown in wiring diagrams, is essential to match the controller’s capacity with the solar panel and battery system․ Incorrect wiring can lead to reduced efficiency or system damage, making it critical to follow the diagram for safe and optimal performance․
Inverters
Inverters are essential for converting DC power from solar panels and batteries into AC power for appliances․ They are a critical component in 12V solar systems, ensuring compatibility with household devices․ Pure sine wave inverters provide clean energy, while modified sine wave inverters are more cost-effective․ Wiring diagrams detail how to connect inverters to batteries and charge controllers, ensuring proper voltage matching․ Overloading must be avoided to prevent damage․ Always follow the manufacturer’s guidelines and wiring diagrams for safe installation․ Correct inverter sizing and wiring are vital for efficient and reliable energy conversion in a 12V solar system․
Understanding Series and Parallel Connections
Series connections boost voltage, while parallel connections increase current․ Both configurations are crucial for optimizing solar panel systems, as shown in wiring diagrams for 2 panels․
Series Connection for 12 Volt Solar Panels
A series connection for 12V solar panels involves linking panels end-to-end to increase total voltage while maintaining current․ This setup is ideal for charging 24V or 48V batteries or powering inverters that require higher voltage inputs․ For example, two 12V panels in series produce 24V, which is compatible with 24V systems․ This configuration is useful for applications requiring higher voltage, such as off-grid homes or RVs․ Always refer to a wiring diagram to ensure correct connections and avoid short circuits․ Series wiring maximizes voltage potential but requires careful planning to match system requirements․
Parallel Connection for 12 Volt Solar Panels
A parallel connection for 12V solar panels allows multiple panels to be linked while maintaining the system voltage at 12V․ In this setup, each panel’s positive terminal connects to the positive of another, and the same for negatives․ This configuration increases the total current while keeping voltage consistent, making it ideal for systems requiring higher current output․ Parallel wiring is beneficial for charging multiple batteries or powering high-current appliances․ Always refer to a wiring diagram to ensure proper connections and avoid overloading․ This method is versatile and suitable for expanding solar systems while maintaining a stable 12V output․
Safety Precautions and Tools Needed
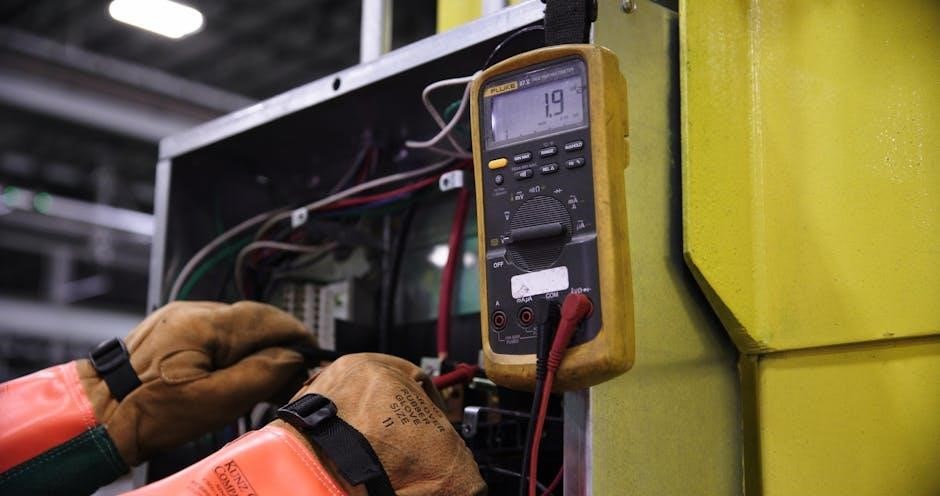
Ensure safety by using insulated wires, circuit breakers, and multimeters․ Wear protective gear․ Follow diagrams to avoid short circuits and overload․ Use high-quality connectors for secure connections;
Safety Guidelines for Wiring a 12 Volt Solar Panel System
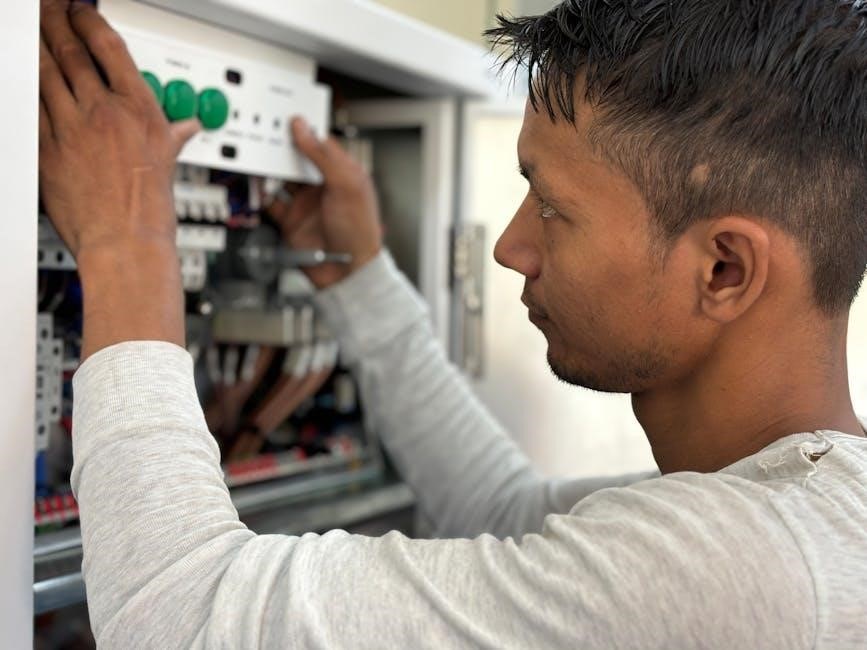
Always disconnect the solar panel before starting work․ Wear protective gear and ensure the system is grounded․ Avoid overloading circuits and use circuit breakers․ Keep the area dry to prevent electrical hazards․ Follow the wiring diagram to prevent short circuits․ Use insulated wires and secure connections․ Test voltage with a multimeter before connecting to the battery․ Ensure all components are rated for the system’s voltage and current․ Regularly inspect wires and connections for damage․ Seek professional help if unsure about any step to ensure a safe and efficient installation․
Essential Tools for Solar Panel Wiring
Key tools include a multimeter for voltage and current testing, wire cutters and strippers for preparing cables, and screwdrivers for connections․ Pliers and wrenches are useful for securing components․ A circuit tester helps identify short circuits, while insulated gloves and goggles provide safety․ A soldering iron ensures durable connections․ A wiring diagram guide is crucial for reference․ Proper tools ensure a safe and efficient installation, preventing potential electrical hazards and ensuring optimal system performance․ Always use high-quality tools to maintain reliability and safety in your solar panel wiring project․
Troubleshooting Common Wiring Issues
Common issues include short circuits, loose connections, and voltage drops․ Use a multimeter to identify faults and ensure proper wire sizing and connections for reliable system performance․
Identifying and Fixing Short Circuits
A short circuit occurs when there’s an unintended path of electricity, often due to faulty connections or damaged wires․ To identify this, use a multimeter to check for zero resistance between wires or terminals․ If detected, disconnect the system and inspect all connections․ Look for signs of overheating, frayed wires, or loose terminals․ Fixing involves repairing or replacing damaged components, ensuring all connections are secure, and verifying proper insulation․ Prevent future issues by regularly inspecting wires and using high-quality materials․ Always follow safety guidelines to avoid risks during troubleshooting․
Resolving Voltage Drop Problems
Voltage drop occurs when electricity loses energy traveling through wires, reducing system efficiency․ To resolve this, use a multimeter to measure voltage at both ends of the wire; If the drop exceeds 3%, upgrade to a heavier-gauge wire or shorten the distance between components․ Ensure all connections are secure and free from corrosion․ Properly sizing wires according to the system’s current and voltage requirements can also minimize voltage drop․ Regularly inspect wiring for damage or wear, and consider using high-quality cables designed for solar systems․ Addressing voltage drop ensures optimal performance and energy delivery in your 12V solar setup․

Best Practices for Solar Panel Wiring
Use appropriately sized wires to minimize voltage drop, ensure secure connections, and follow safety guidelines․ Regularly inspect wiring for damage and maintain proper grounding for optimal performance․
Optimizing Wire Size and Type
Choosing the right wire size is crucial to minimize power loss․ For a 12V solar system, use wires rated for the maximum current flow to ensure efficiency․ Proper insulation and resistance to environmental factors like heat and moisture are essential․ Always refer to the wiring diagram to select the correct gauge and type of wire for each connection․ Using high-quality, UV-resistant cables ensures durability and safety, while correct sizing prevents overheating and voltage drop, optimizing system performance and longevity․
Ensuring Proper Grounding
Proper grounding is essential for safety and system efficiency in a 12V solar panel setup․ It prevents electrical shocks and protects components from voltage spikes․ Grounding involves connecting the system to the earth using a grounding rod․ Ensure all components, including panels, batteries, and inverters, are securely bonded to the grounding system․ Follow the wiring diagram to identify correct grounding points․ Regularly inspect connections to prevent corrosion or loose wires․ Improper grounding can lead to safety hazards and equipment damage, so always prioritize this step during installation․ A well-grounded system ensures reliability and compliance with electrical safety standards․
Frequently Asked Questions (FAQs)
What is the Maximum Voltage a 12 Volt Solar Panel Can Produce?
A 12V solar panel typically produces up to 22V under open circuit conditions, ensuring compatibility with standard 12V systems and charge controllers․
Can I Connect Multiple 12 Volt Panels to a Single Battery?
Yes, multiple 12V panels can be connected in series or parallel to a single battery, depending on your system’s voltage and capacity requirements, as shown in wiring diagrams․
A 12V solar panel typically produces a maximum voltage of around 22V under open circuit conditions․ This higher voltage ensures compatibility with 12V systems and charge controllers․ While the panel is rated for 12V, its Voc (open circuit voltage) is higher to accommodate charging batteries efficiently, especially in low-light conditions․ This voltage range is crucial for proper system design and wiring, as outlined in most 12V solar panel wiring diagrams․ Always refer to the panel’s specifications to ensure safe and efficient connections in your solar setup․
Yes, you can connect multiple 12V panels to a single battery, but it requires proper wiring․ Panels can be connected in parallel to increase current while maintaining 12V, or in series to raise voltage for higher systems․ Always use a charge controller to regulate power flow and prevent overcharging․ Ensure wiring matches the battery’s capacity and system requirements for safe and efficient energy storage․ This setup is common in RVs and off-grid systems, as detailed in many 12V solar wiring diagrams․